I’ve spent years testing small-batch desserts for real home kitchens. Today, I’ll show you how to make ice cream at home that’s smooth, scoopable, and full of flavor. We’ll cover both ice cream maker and no-churn methods, plus vegan and eggless options. I’ll share my best tips, mistakes to avoid, and food-safe steps. If you want homemade ice cream that tastes like your favorite scoop shop, you’re in the right place.
Source: www.youtube.com
Ingredients And Equipment Explained
Great ice cream starts with a balanced base. The goal is creamy texture with small ice crystals and good stability.
Core ingredients:
- Dairy fat For rich body and smooth mouthfeel. Heavy cream plus whole milk is classic.
- Sugar For sweetness and softer texture. It lowers the freezing point.
- Stabilizers For smoother scoops. Egg yolks, condensed milk, or a bit of cornstarch help bind water.
- Salt A pinch sharpens flavor.
- Flavor base Vanilla, chocolate, fruit puree, coffee, tea, or nut butter.
Helpful equipment:
- Ice cream maker Any style works: compressor, freezer-bowl, or manual. A machine improves texture.
- Thermometer For custard bases. Aim for 170–180°F to thicken without curdling.
- Fine strainer Catches any overcooked bits for silkier results.
- Airtight containers Prefer shallow, wide containers for fast, even freezing.
Pro tip from my kitchen:
- Weigh ingredients when you can. Consistency matters for repeatable results.

Source: www.freepik.com
The Science Behind Silky Ice Cream
Ice cream is a frozen foam with fat droplets, sugar, and tiny ice crystals. The smaller the crystals, the smoother the scoop. Churning adds air and breaks ice crystals while the base chills fast.
Key factors:
- Fat and solids Cream and milk proteins create body and stability.
- Sugar Lowers freezing point so ice cream stays scoopable.
- Emulsifiers Egg yolks and milk proteins help keep fat and water blended.
- Stabilizers A small amount of cornstarch, yolks, or condensed milk reduces iciness.
- Rapid chill Quick cooling and steady churning lead to fine crystals.
Evidence-backed insight:
- Food science research shows that higher solids and controlled churning reduce crystal size and improve texture. That’s why even no-churn recipes lean on condensed milk or stabilizers.
My test note:
- Bases that rested overnight (8–12 hours) churned creamier and tasted more rounded.
Source: www.youtube.com
Method 1: Classic Custard Ice Cream (With Machine)
This is the scoop-shop standard. It’s rich, silky, and very versatile.
Ingredients for vanilla (makes about 1 quart):
- 2 cups heavy cream
- 1 cup whole milk
- 5 large egg yolks
- 3/4 cup sugar
- 1 teaspoon vanilla extract
- Pinch of fine salt
Steps:
- Heat milk and half the cream. Warm with half the sugar and salt until steaming, not boiling.
- Whisk yolks with remaining sugar. Pour in a little hot milk slowly, whisking to temper.
- Combine and cook. Return to the pot. Cook over low, stirring, until it coats a spoon at 170–180°F.
- Strain and chill. Stir in remaining cream and vanilla. Strain. Chill fully, ideally overnight.
- Churn cold base. Add to ice cream maker. Churn until thick and soft-serve-like.
- Freeze to set. Transfer to a shallow container. Press parchment on top. Freeze 4–6 hours.
Personal tip:
- If you can see a clean line when you draw your finger across the back of the spoon, the custard is ready. If it curdles, blend it smooth and strain; texture will still be good.
Source: handletheheat.com
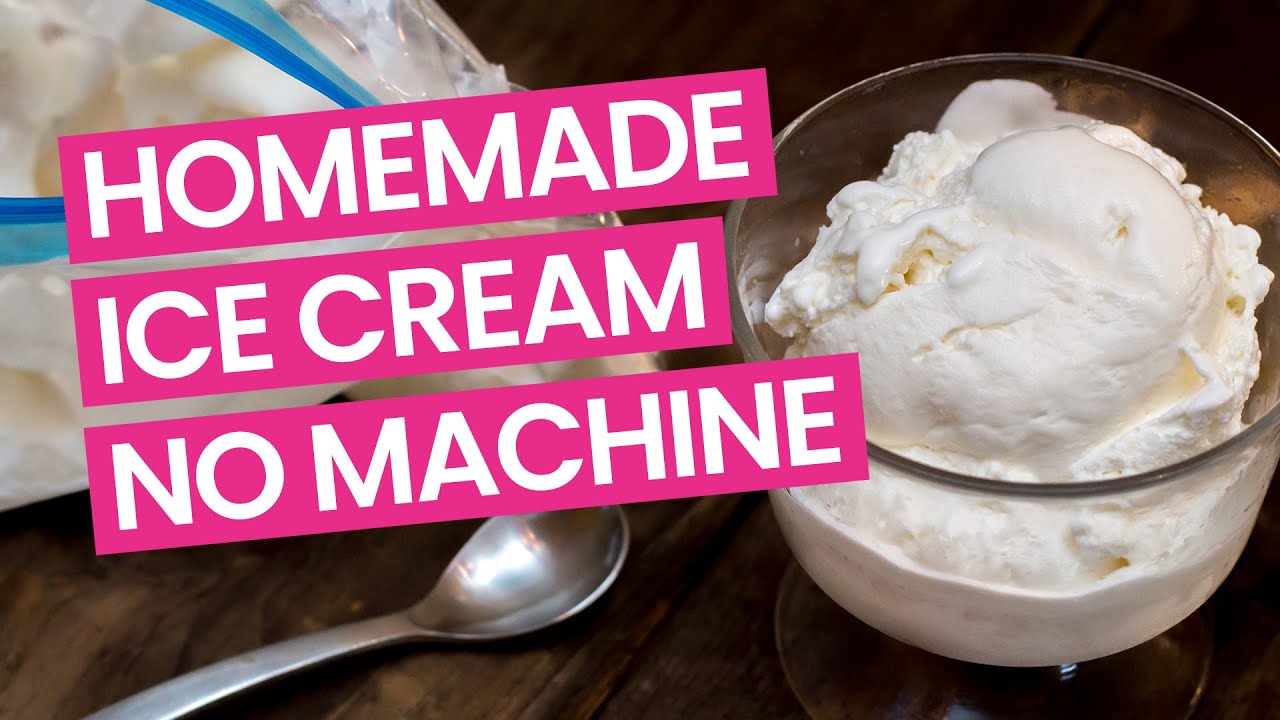
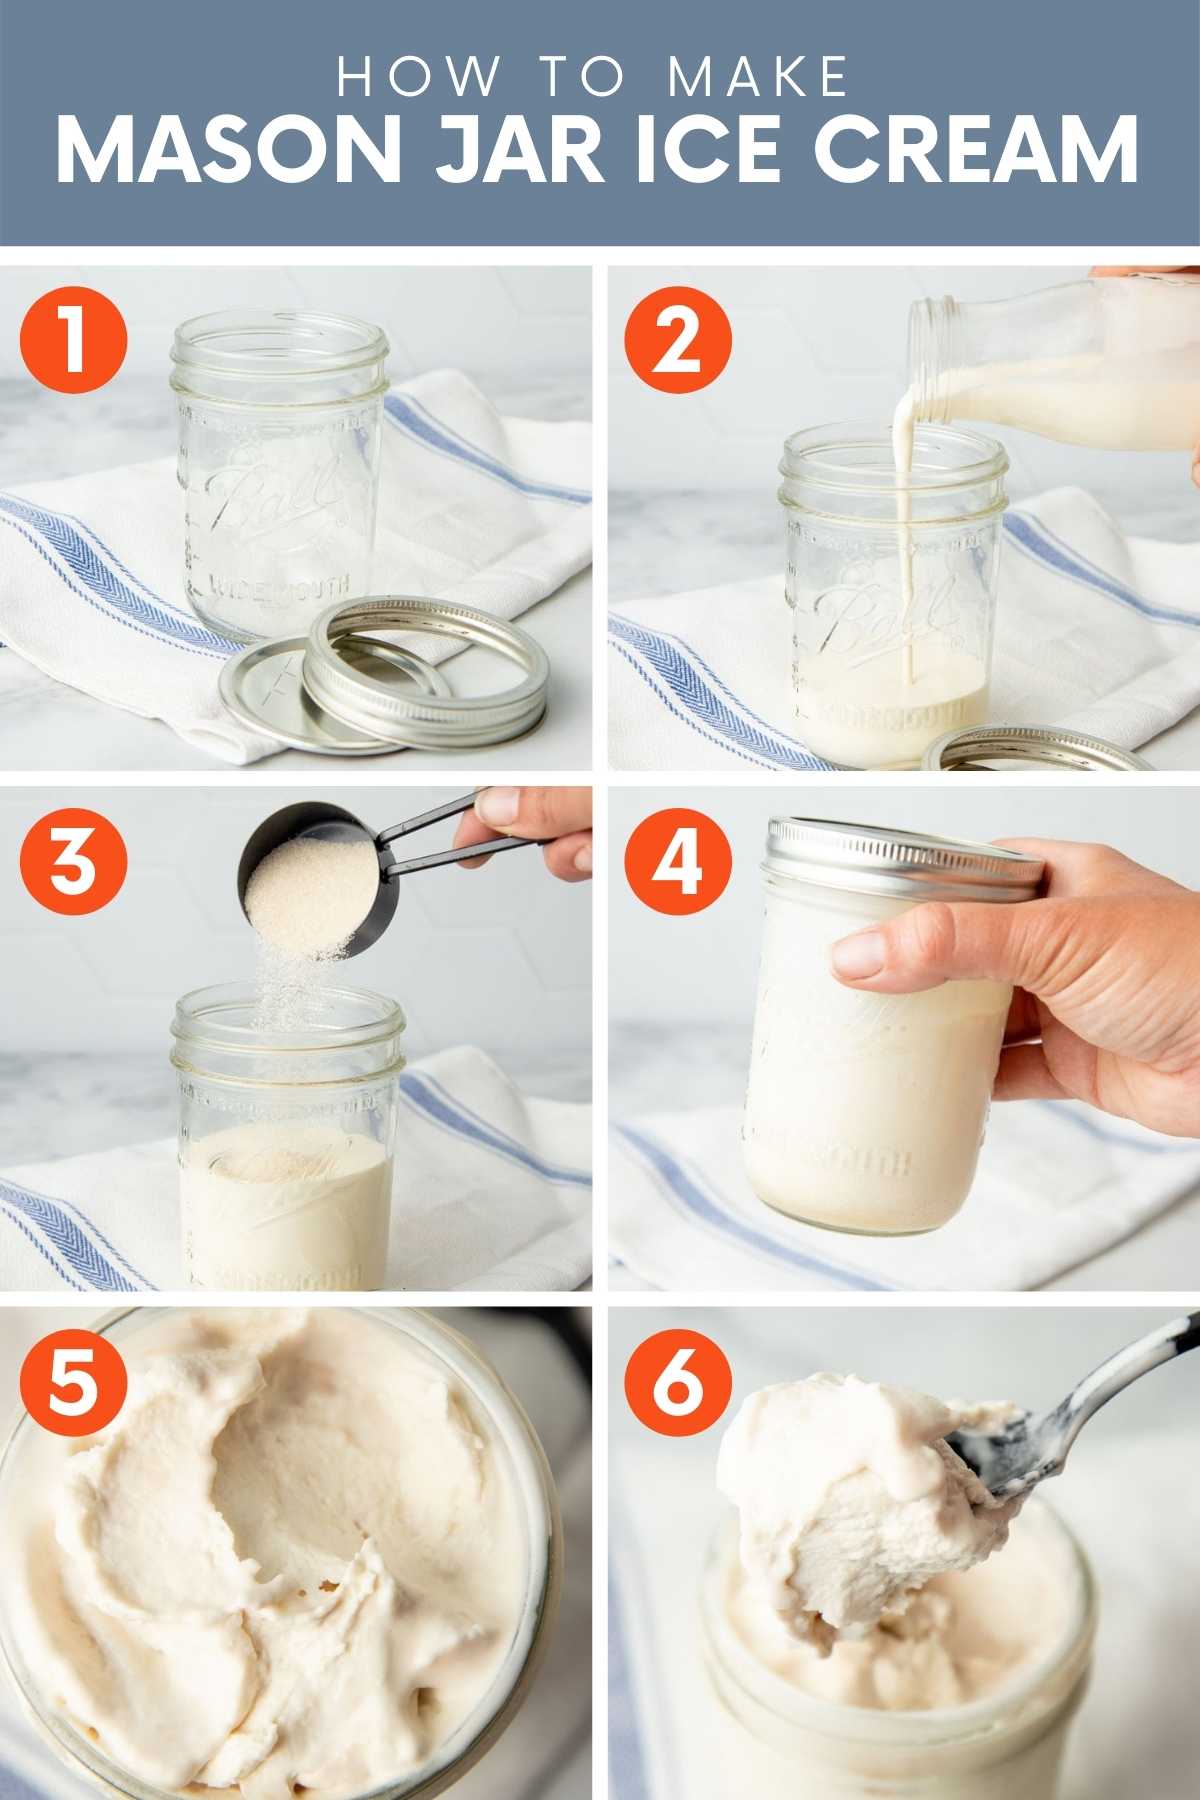
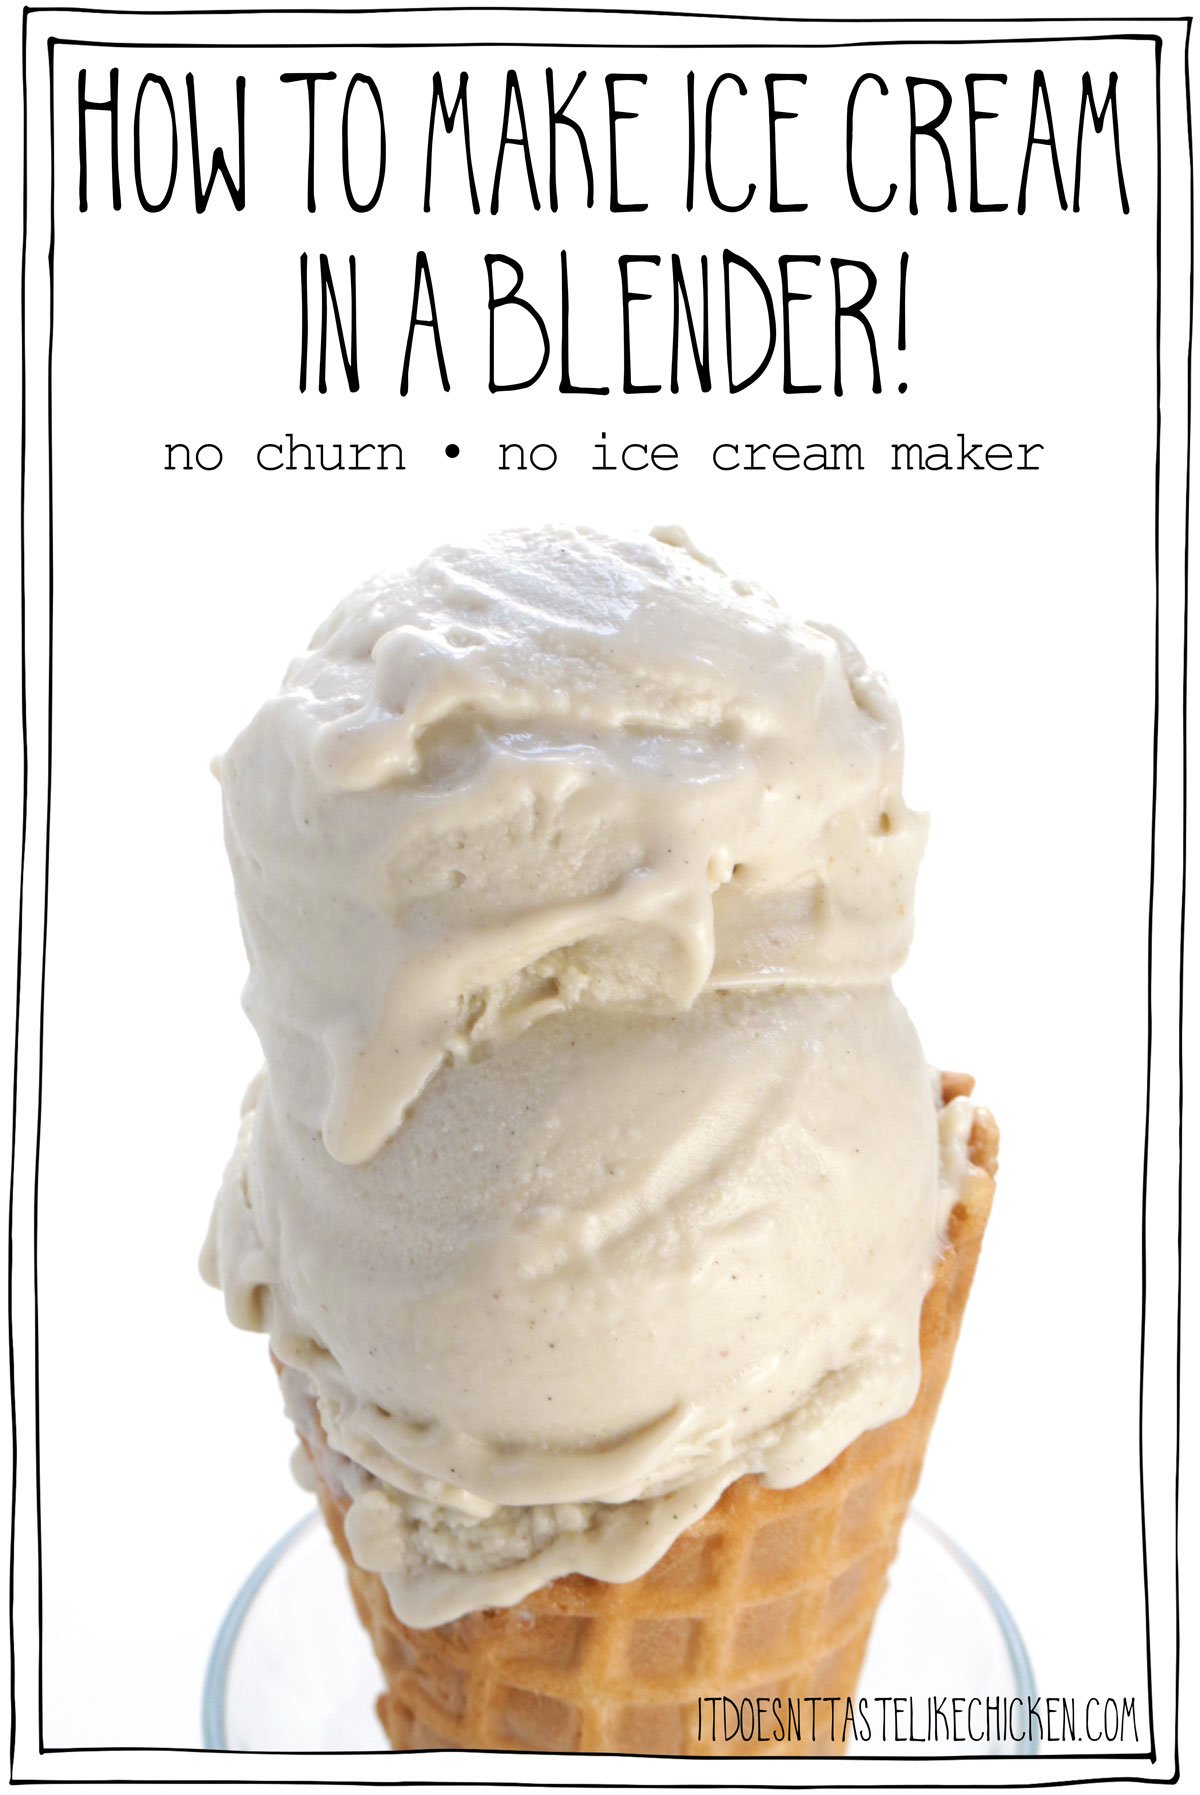
Method 2: No-Churn Ice Cream (Two-Ingredient Base)
No machine? No problem. This method uses whipped cream and sweetened condensed milk for structure.
Ingredients (1 quart):
- 2 cups cold heavy cream
- 1 can sweetened condensed milk (14 ounces)
- 1 teaspoon vanilla
- Pinch of salt
Steps:
- Whip the cream. Beat to medium-soft peaks.
- Fold in condensed milk. Add vanilla and salt. Fold gently to keep the air.
- Flavor and freeze. Swirl in mix-ins. Freeze in a shallow container 6–8 hours.
Notes from testing:
- Add 1 tablespoon vodka per quart to keep it extra scoopable. It won’t taste boozy.
- For chocolate, sift in 1/4 cup cocoa with condensed milk.

Source: www.loveandlemons.com
Method 3: Dairy-Free And Vegan Options
You can get great texture without dairy. Aim for 10–20 percent fat in the base.
Great bases:
- Coconut cream Rich and consistent. Pair with vanilla, mango, or chocolate.
- Cashew or almond blends Soak nuts, then blend with water for a creamy base.
- Oat milk Higher solids help with body; add a little oil or nut butter for richness.
Simple vegan no-churn:
- 2 cups coconut cream
- 3/4 cup sweetened condensed coconut milk
- 1 teaspoon vanilla
- Pinch salt
Steps:
- Chill the coconut cream overnight.
- Whip until fluffy.
- Fold in condensed coconut milk, vanilla, and salt.
- Freeze 6–8 hours.
Evidence-based tip:
- Plant fats and a touch of starch (like 1 tablespoon cornstarch per quart) reduce iciness and improve scoopability.

Source: www.hausmatter.com
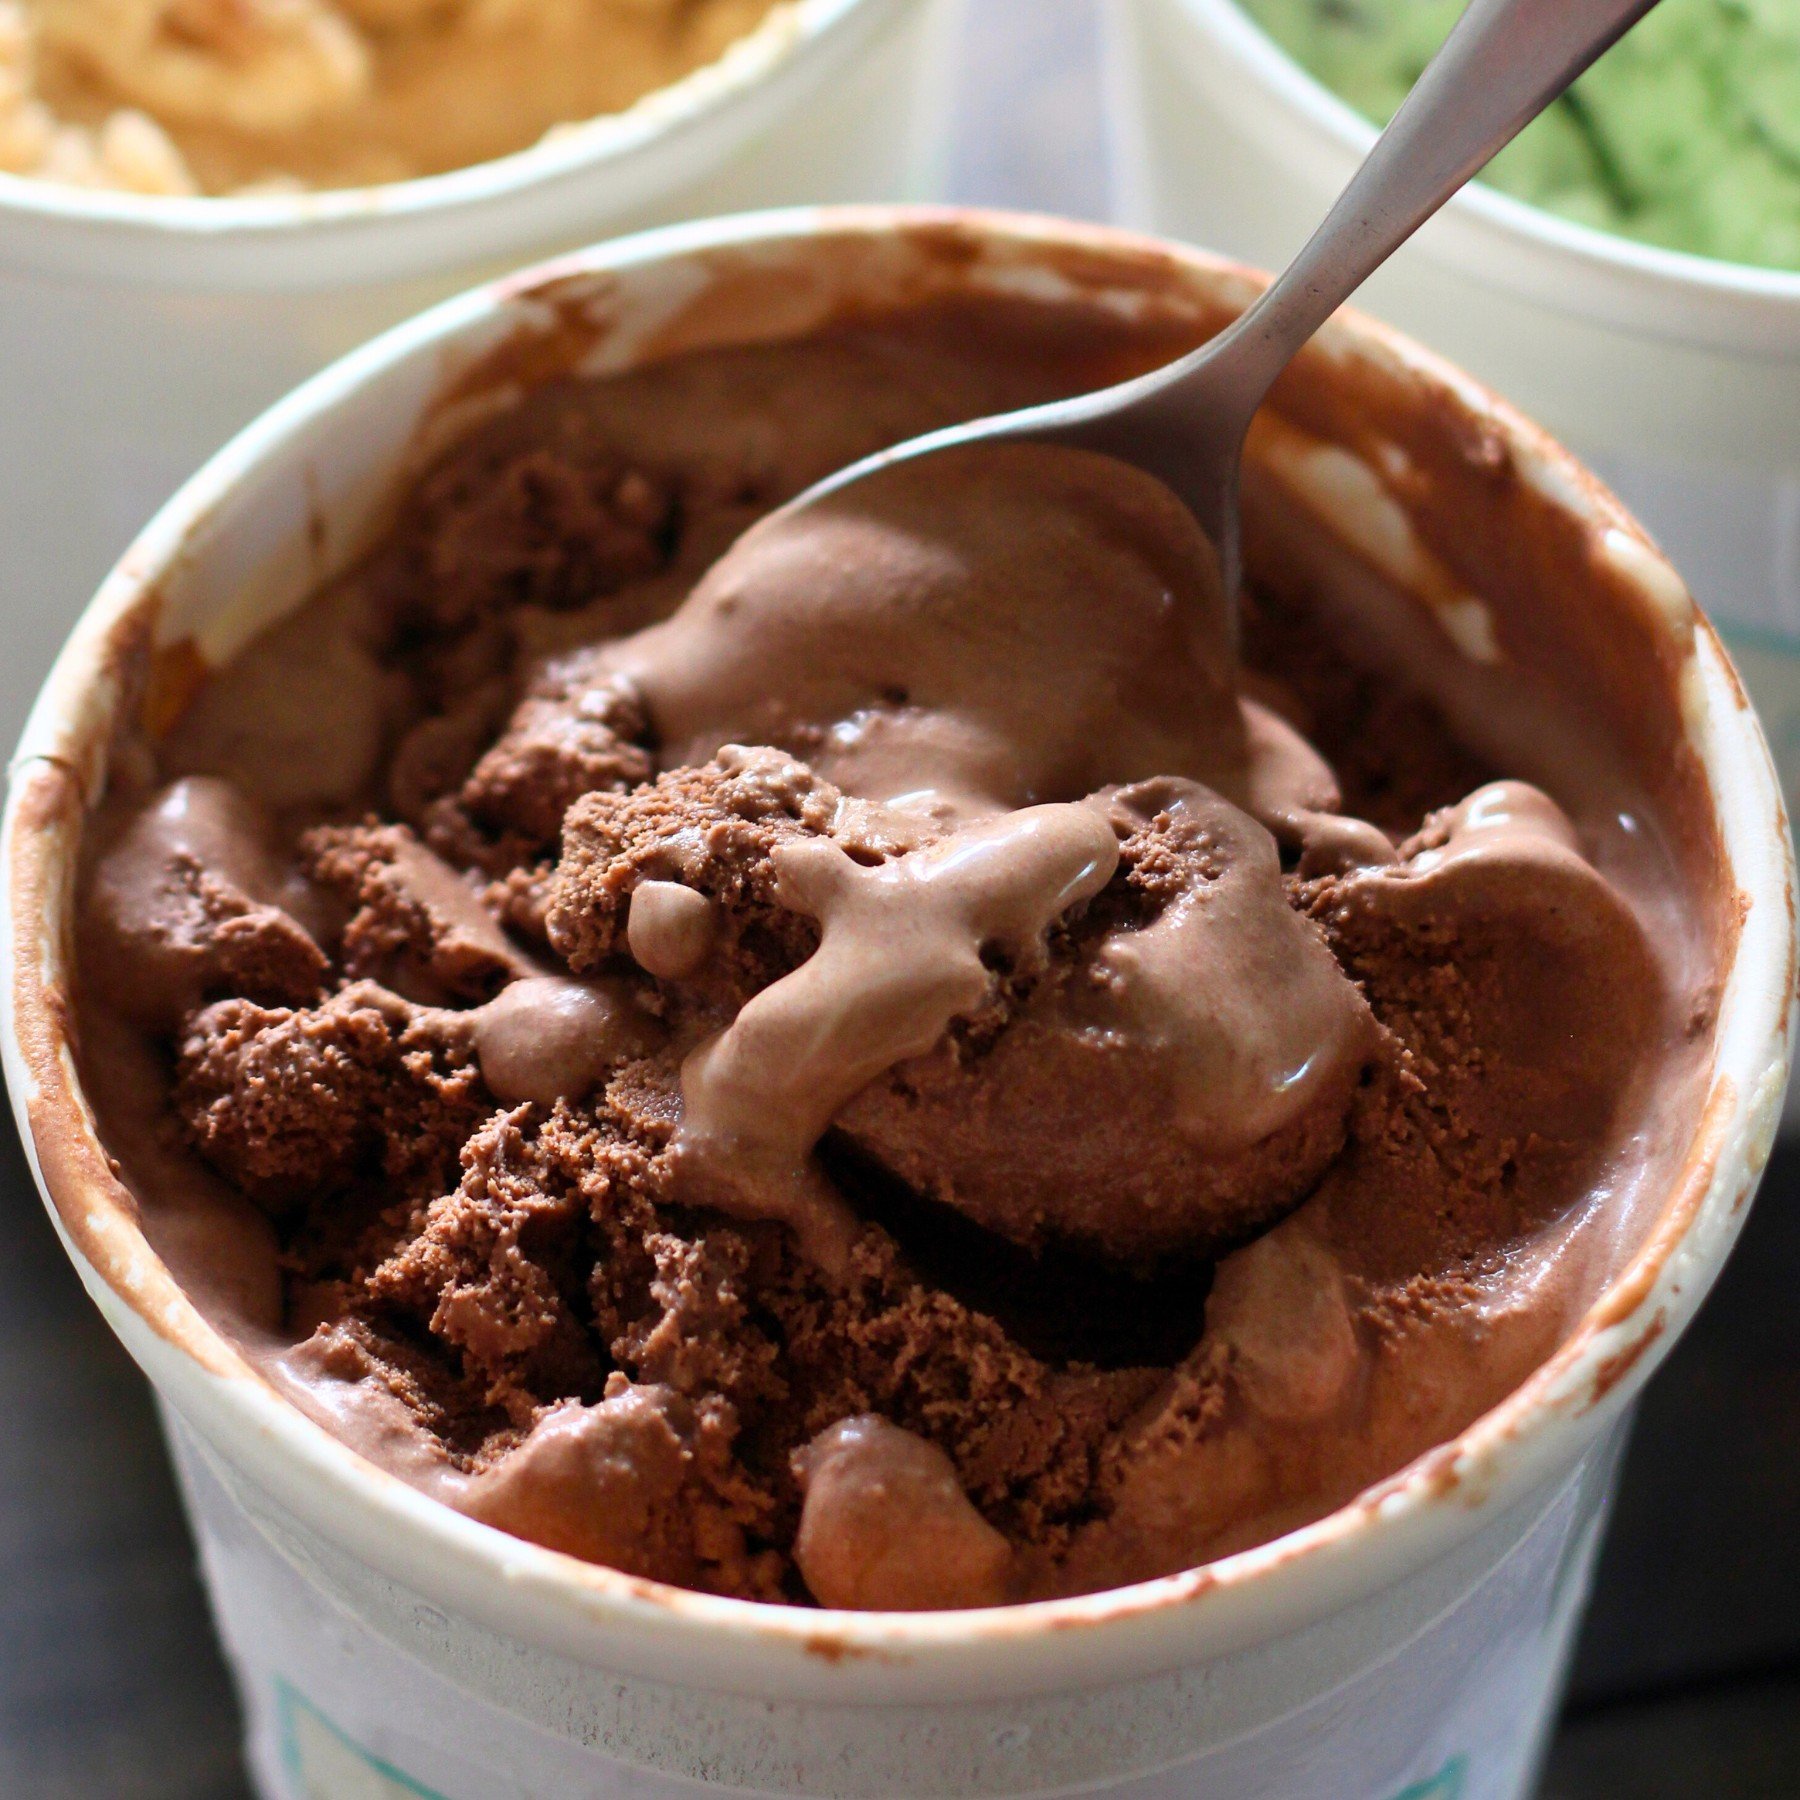
Flavor Mix-Ins And Swirl Ideas
Add-ins should be small and dry to avoid ice chunks. Chill them first.
Smart mix-ins:
- Crunch Chocolate chips, toffee bits, crushed cookies, candied nuts.
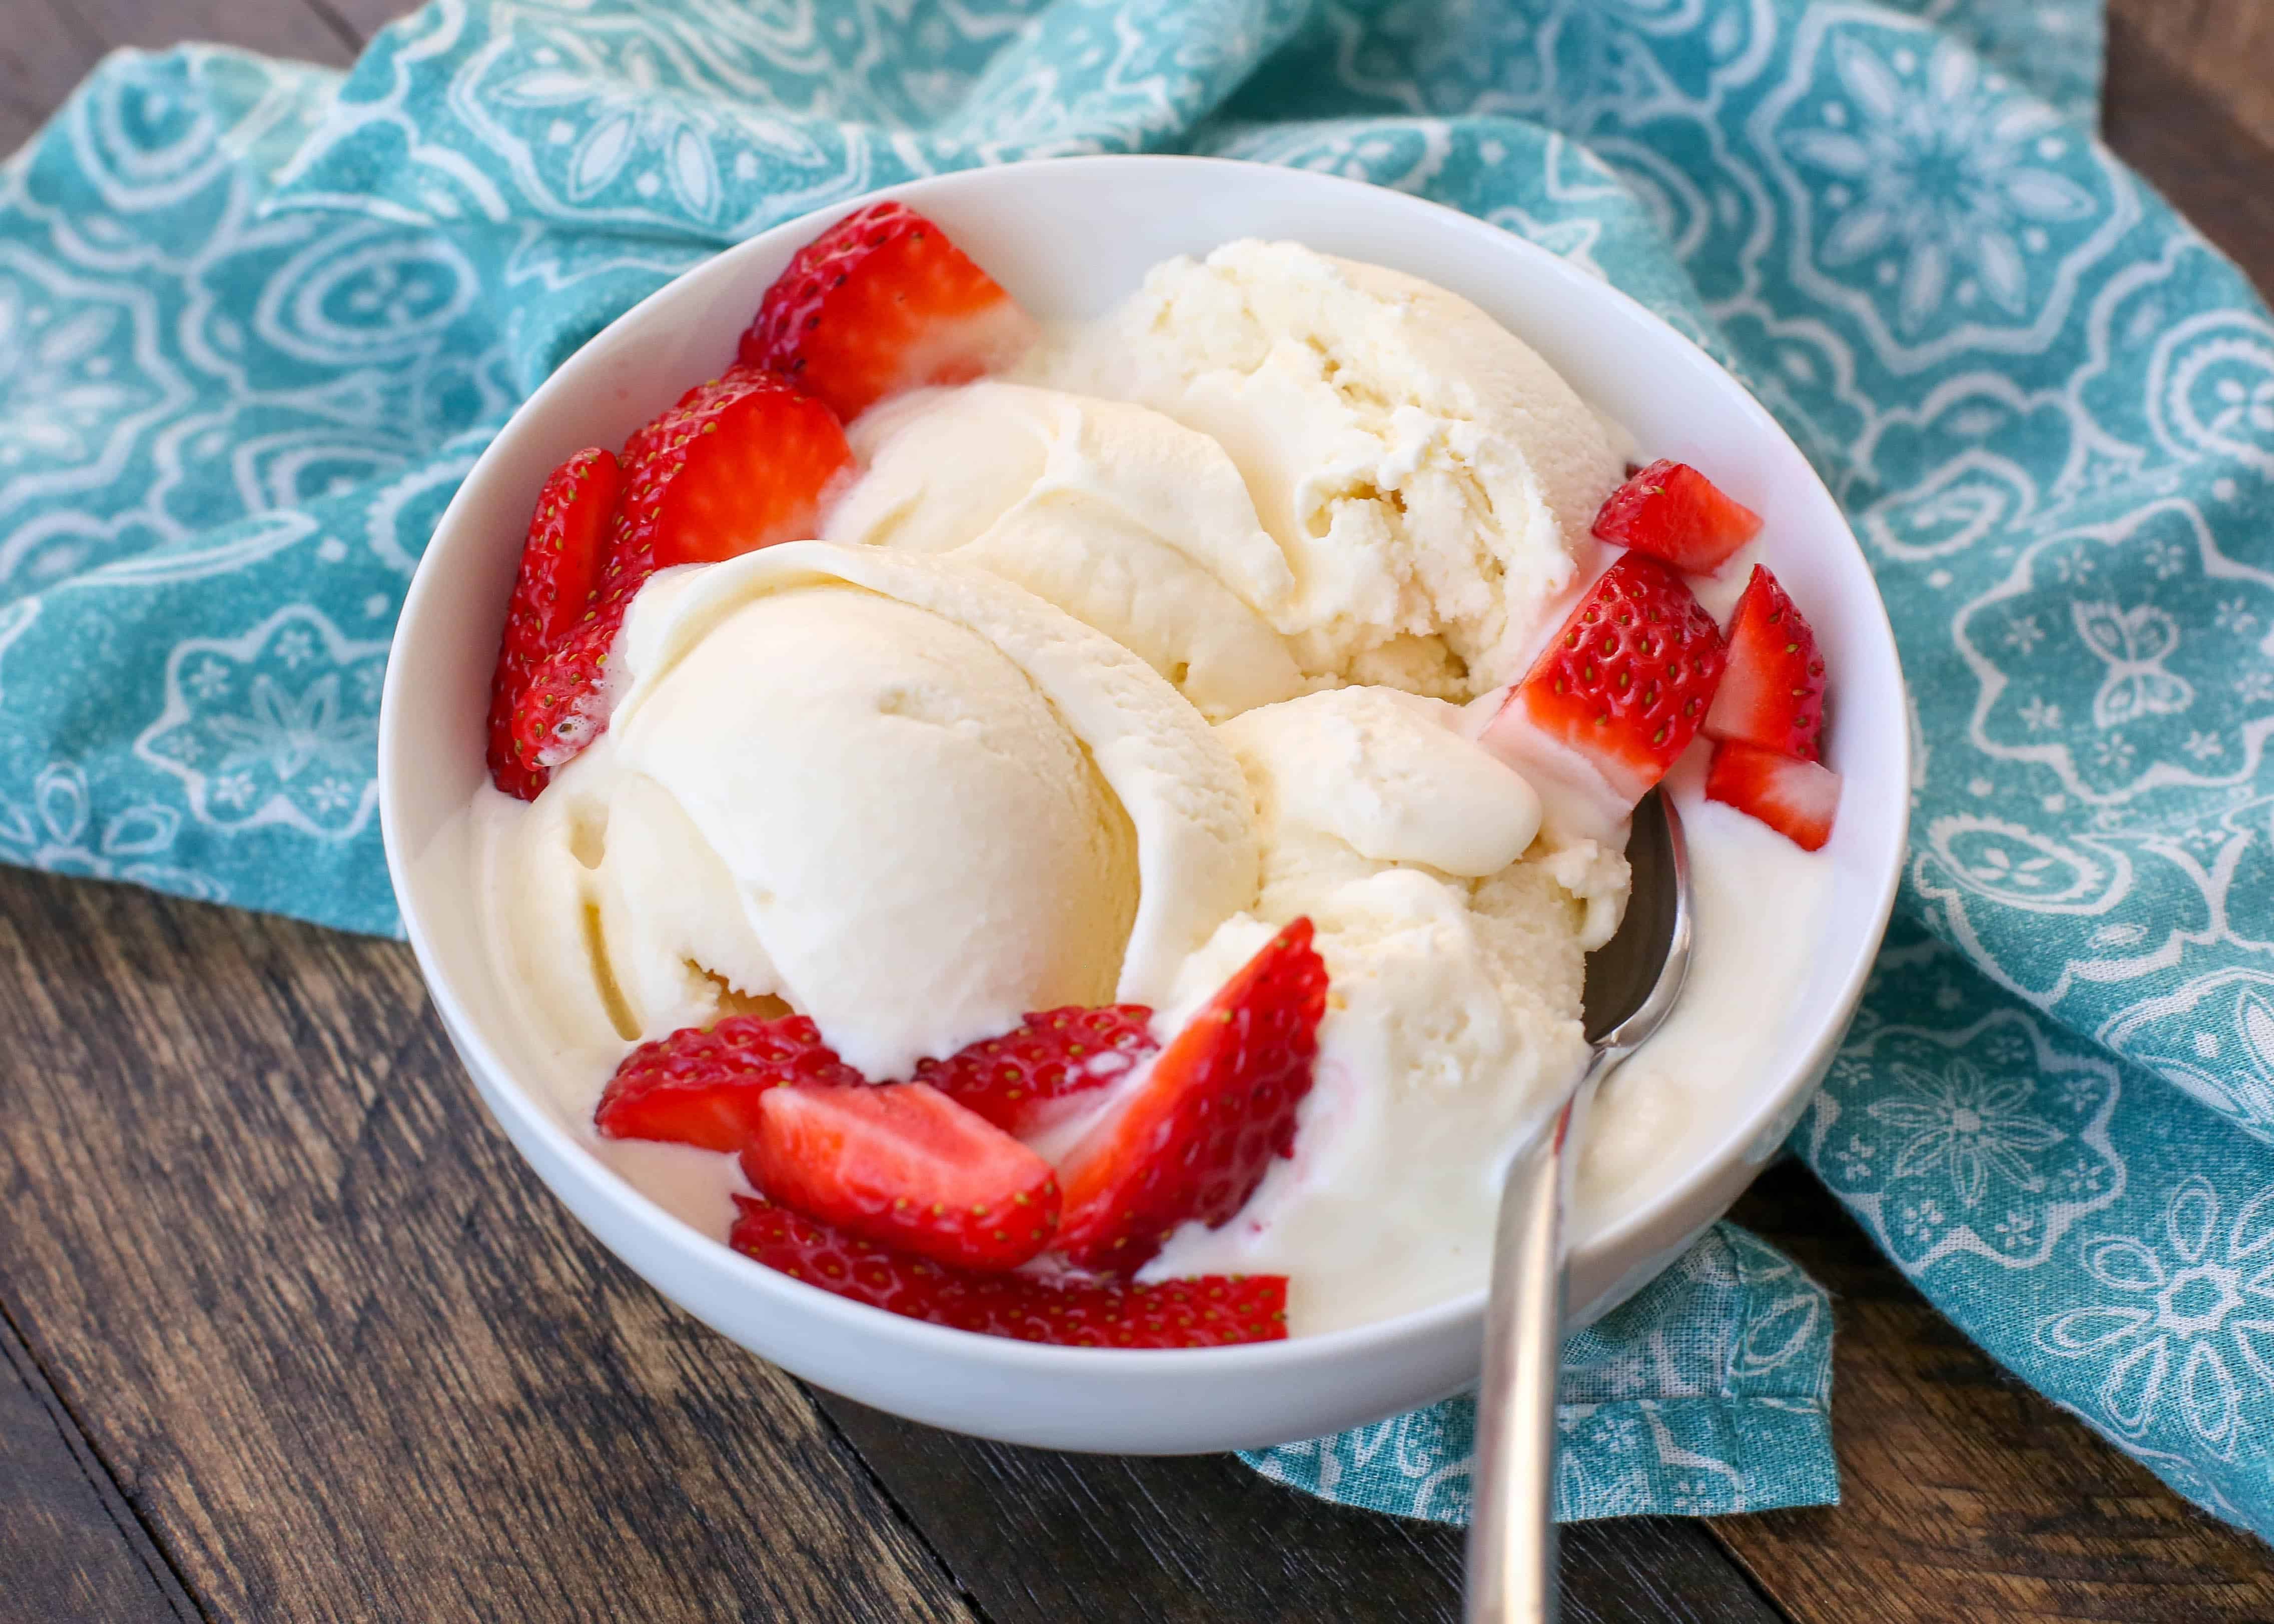
- Fruit Cook fruit into a quick jam to reduce water. Mango puree, strawberry compote.
- Swirls Warm fudge, caramel, or peanut butter. Ribbon in during container fill.
How to add:
- Fold in up to 1 to 1.5 cups total add-ins per quart at the very end of churning.
- For swirls, layer base and spoon thin ribbons. Use a butter knife to gently marble.
Source: barefeetinthekitchen.com
Fixing Common Problems And Pro Tips
Grainy texture:
- Cause Overcooked custard or large ice crystals.
- Fix Blend warm and strain. Next time, lower heat and chill base faster.
Too hard:
- Cause Low sugar or low fat.
- Fix Add 1–2 tablespoons alcohol per quart or increase sugar by 1–2 tablespoons.
Icy fruit:
- Cause Raw watery fruit.
- Fix Reduce fruit into a compote, cool, then fold in.
Pro tips I swear by:
- Always chill base until very cold before churning.
- Use shallow containers and press parchment on top to limit ice.
- Let frozen ice cream sit at room temp 5–10 minutes before scooping.
- Label flavors and date. Peak flavor is within 2–3 weeks.
Trust note:
- Time and temperature control are the biggest variables. A thermometer and patient chilling yield repeatable results.
Source: wholefully.com
Storage, Food Safety, And Serving
Storage:
- Freeze at 0°F or below. Keep containers near the back of the freezer.
- Cover with parchment and a tight lid to limit freezer burn.
Food safety:
- Custard must reach at least 170°F to pasteurize yolks.
- Cool fast: ice bath, then refrigerate within 1 hour.
- Use clean tools and avoid double-dipping to prevent contamination.
Serving:
- Warm your scoop in hot water, then wipe dry.
- Pair with warm brownies, espresso shots for affogato, or fresh fruit.
Data-backed insight:
- Lower serving temperatures mute flavor. Let pints rest a few minutes; aroma and sweetness bloom.
Source: itdoesnttastelikechicken.com
Frequently Asked Questions Of How To Make Ice Cream At Home
Q. Do I Need An Ice Cream Maker To Get Creamy Results?
No. A no-churn base with whipped cream and sweetened condensed milk creates smooth texture. A machine improves air and consistency, but it isn’t required.
Q. How Long Should I Chill The Base Before Churning?
At least 4 hours. Overnight (8–12 hours) is best. Colder base equals smaller crystals and better texture.
Q. Can I Reduce The Sugar?
Yes, but do it gently. Sugar affects softness. Reduce by 10–15 percent and add 1 tablespoon alcohol per quart to keep it scoopable.
Q. What’s The Best Way To Add Fruit?
Cook fruit into a thick compote to remove excess water. Cool fully, then fold into the base or ribbon during container fill.
Q. How Do I Make Eggless Custard?
Use the Philadelphia-style method: cream, milk, sugar, a pinch of salt, and 1 tablespoon cornstarch per quart. Heat to 185°F, cool, and churn.
Q. How Long Does Homemade Ice Cream Last?
Best within 2–3 weeks for peak flavor and texture. It’s still safe longer if kept frozen solid and sealed, but texture may suffer.
Q. Why Is My Ice Cream Sandy Or Gritty?
Lactose crystallization or overcooked yolks can cause graininess. Keep the base cold, churn promptly, and strain custard.
Conclusion
You now have everything you need to make ice cream at home like a pro. Choose your base, control the chill, and add bold flavors. Start with a simple vanilla, then try a swirl or a vegan batch next. Small tweaks make a big difference, and every pint teaches you more.
Ready to churn? Pick a method today, share your flavor in the comments, and subscribe for more tested recipes and gear tips.